Special Effects makeup is a world full of magical, fantastical, enchanting and gruesome fun! Have you ever wanted to know how some of your favourite characters were made? Perhaps you should check out diploma of screen & media across Australia to peak your interest.
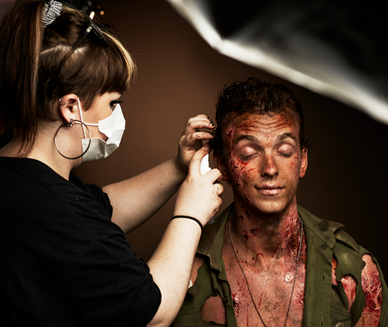
Special effects makeup covers a pretty vast range of makeup effects from bruising and cuts to fake noses and alien antennae. A great way to start and develop your skills is by beginning with creme paints. Creme paints are an easy way to blend and create amazing effects with minimal and easily accessible products.
Follow this quick step by step to create a simple bruise makeup:
What you will need:
● A cream paint or face paint in yellow, green, blue, and purple (you can mix colours to make the colour you want)
● A fluffy brush or a sponge (you can use your fingers you will just have a bit less control).
● A thinner – could be water or isopropyl alcohol.
NOTE: If you do use Isopropyl Alcohol as your thinner be sure to follow manufacturers instruction.
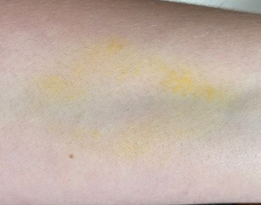
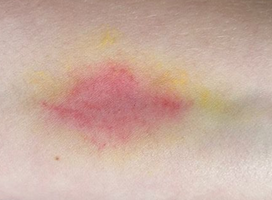
Step 1: Take your yellow creme or paint and start by lightly dabbing the colour to where you want the outside of your bruise to be. Use your finger to dab away any colour that is too strong. Try and create a shape that is irregular and not rounded.
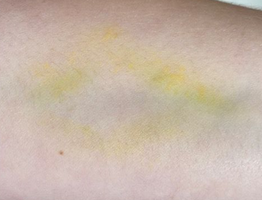
Step two: Take a very small amount of your green creme or paint and deepen some of those edges where you want the bruise to be a little harsher. Blend with the yellow. You can use your thinner to help blend and to water down the colour if it is too strong. You can even wet your finger with your thinner and use that to help blend your colours.
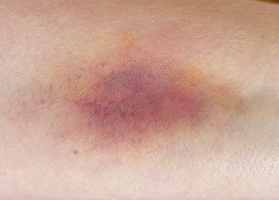
Step three: Blend your red creme or paint with the purple to make a bruise tone you are happy with and start placing the colour inside your yellow edges. You can vary the levels of red and purple inside to create a better bruise effect.
Step four: Using your blue creme or paint starts to deepen certain areas of your red/purple. Be careful not to use too much blue or the whole bruise will turn very dark.
Step 5: Go back in with your green and use it to blend the edges of the bruise into the centre. This creates a nice slightly brown colour you sometimes see in healing bruises.
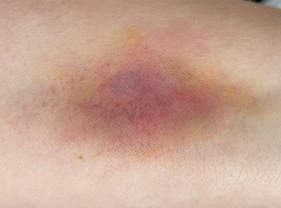
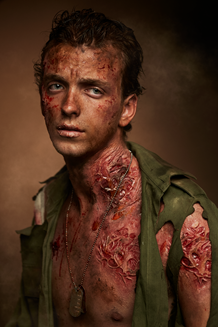
Using the same principles you have just learned in that tutorial you can create a world of different wounds and injuries! It is all about layering, different textures and shapes, and colour theory.
Discover how to create wounds and injuries as well as full character prosthetics in a screen & media course brisbane or screen & media course melbourne.
 2018 ·
Leave a Reply